Contact Info
1234, Basant Vihar, Near Aklank Public School, Kota (Rajasthan)
+91-9119220608
info@whoischoice.com
Get StartedRecommended Services
Supported Scripts
There are hundreds of different website building platforms and website builders around the market.
You can also code your website from scratch, but we wouldn’t recommend it on mainly two reasons:
- It just takes too much time (seriously)
- Your end result will be mediocre at its best…
In 2019, the most popular website builders (or content management systems) are:
- WordPress (free) 52%
- Wix (paid) 7%
- Joomla (free) 4%
- Progress Sitefinity (free) 4%
- SquareSpace (paid) 4%
- Weebly (paid) 2%
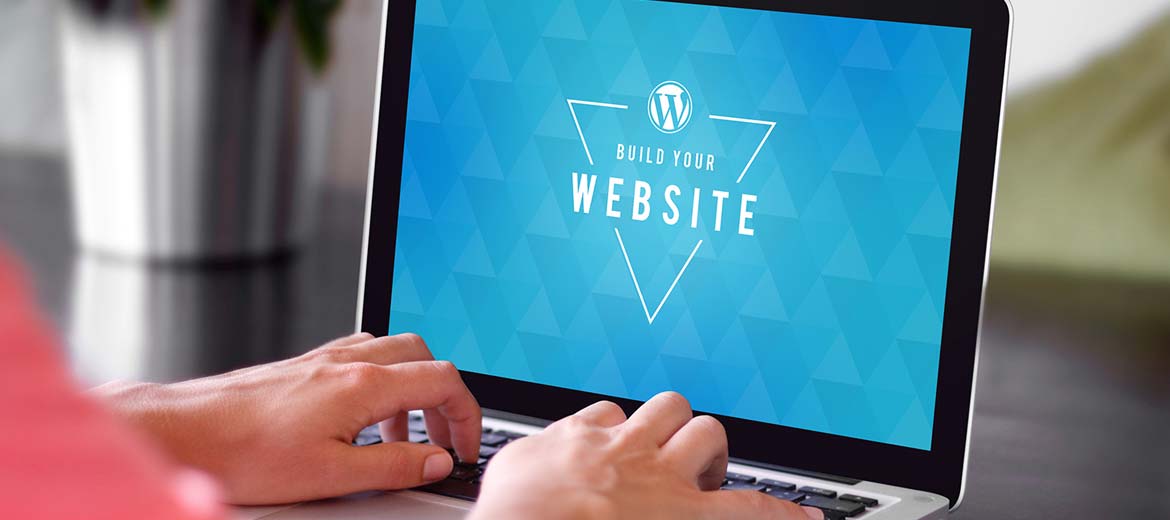
An Easy, Step-by-Step Guide
STEP 1 Get Web Hosting and Register a Domain Name
In order to set up your WordPress (or any other type of website), you’re going to need two things:
- Domain Name (a web address like YourSiteName.com)
- Web Hosting (a service that connects your site to the internet)
In order to store your images, content and website files, you are going to need web hosting. Without web hosting, your website will not be visible on the Internet.
STEP 2 Set Up Your Website
Once you’ve bought your domain name and set up your hosting, you’re well on your way!
Now it’s time to get your website up and running. The first thing you’ll need to do is install WordPress to your domain.
Installing WordPress
There are two possible ways to install WordPress, one MUCH easier than the other.
- To create a website with WordPress (or Joomla and Drupal), use the “one-click installation”:
Almost every reliable and well-established hosting company has integrated 1-click-installation for WordPress, which makes getting going a snap.
If you signed up with Whois Choice or any other similar hosting company, you should find your “1-click-installation” in your account control panel.
Here are the steps you should follow (should be similar/same on all the major web hosting companies):
- Log in to your hosting (Whois Choice or Other Similar Hosting) account.
- Go to your control panel.
- Look for the “WordPress” or “Website” icon.
- Choose the domain where you want to install your new website.
- Click the “Install Now” button and you will get access to your new WordPress website.
- OR MANUAL INSTALL (For those who don’t use Whois Choice or any similar host)
If for some odd reason (some hosting companies don’t provide one-click-install for WordPress) you don’t have the option to install WordPress automatically, look this manual guide below:
Installing WordPress Manually
1) Download WordPress from here: https://wordpress.org/download
2) Create a new folder on your desktop and unzip WordPress in it
3) Look for a file named wp-config-sample.php and rename it to wp-config.php
4) Now open the wp-config.php (with notepad for example) and fill the following lines:
- define(‘DB_NAME’, ‘database_name_here’); – Database name (if you don’t know it, ask this from your hosting support)
- define(‘DB_USER’, ‘username_here’); – Your hosting username
- define(‘DB_PASSWORD’, ‘password_here’); – Your hosting password
After you have filled the gaps, save the file.
5) Now log into your hosting FTP (download FileZilla for that). The FTP address is usually ftp.yourdomain.com, username and password are the same that you used to register to your host.
6) If there is any file named “index” – delete it. After that upload all the files from your WordPress folder to your FTP server. We believe you can use the “drag-and-drop” function in FileZilla.
7) Once you have completed the previous steps, go the URL: yourdomain.com/wp-admin/install.php
8) Just fill in the forms and you are ready!
STEP 3 Design Your Website
Once you have successfully installed WordPress to your domain, you’ll see a very basic yet clean site.
But you don’t want to look like everyone else, do you?
That’s why you need a theme – a design template that tells WordPress how your website should look.
STEP 4 Add Content To Your Website
With your theme installed, you’re ready to start creating content.